A newsletter is an essential part of your online business/blog/project. It helps you reach your auditors more easily and keep them informed about any update regarding your project. I recently implemented a newsletter for canSnippet, my snippet management tool. I have already heard a lot about MailChimp and as it is the most commonly used service (and you can create a free account for small projects) I decided to go with it. I had some difficulties to create my first campaign (I didn’t even know what that meant at the time) so I wanted to share some essential points to help you in the creation of your first newsletter.
There are 4 easy steps to follow for implementing a newsletter with MailChimp (without counting the fact that you already have a MailChimp account…).
1. Create a List
This list will contain all the email addresses related to your project. You can have different lists for different projects. Connect to your MailChimp account and click on the Lists button on the top menu.
![]()
Click the Create list button and confirm the creation of a new list. Fill the form with all the required information (you can see an example below).
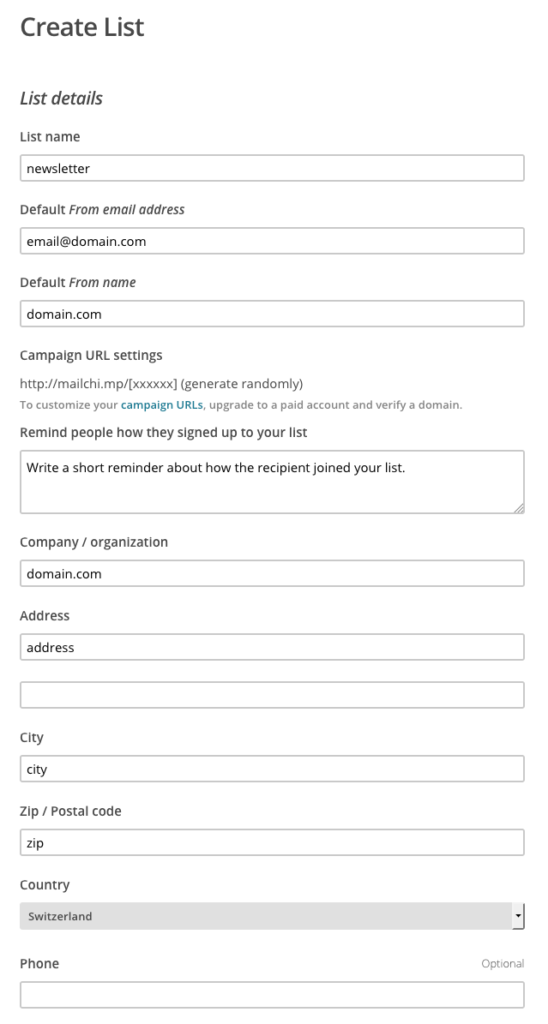
Click Save to create your first list.
2. Design your forms
Every event can be linked to a form, be it signup, unsubscibe… You can design all of these forms one by one and with great details. After creating your first list, you can click on the Signup forms tab and select General forms.
For this simple example of a newsletter, all the forms that we will use are located under General forms except for the “Subscribe” form that will be located under Embedded forms.
There are 5 forms that are useful in case of a newsletter implementation. You can see the details of the required forms in the image below.

You can select every form one by one and modify them as you like. I find the default forms already pretty good, I just added the logo and name of canSnippet on the header for additional personalisation.
3. Creating your first campaign
You can now create your first Campaign that will correspond to your Welcome message. You can actually implement the Welcome message already in the Signup forms section, under Final Welcome email and tick the Send a final welcome email. Alternatively, you can create a Campaign and send a more personalized email every time a new user subscribes to your newsletter. That’s what we will do now, you can also refer to this approach next time you will create a Campaign.
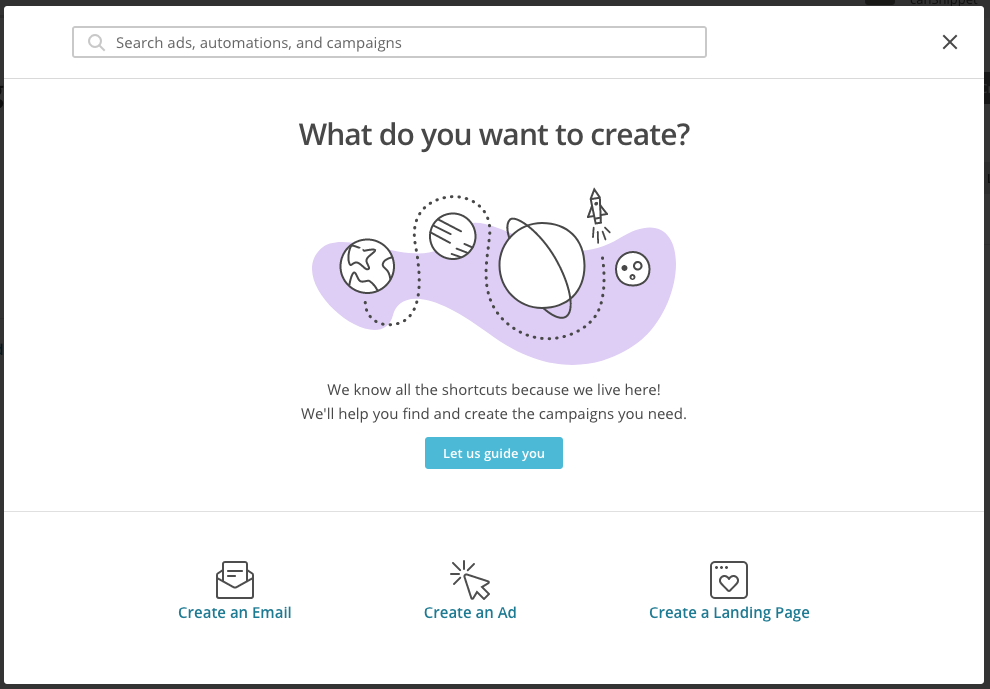
Go to Campaigns and click Create Campaign, click Create an Email and give a name to your campaign.
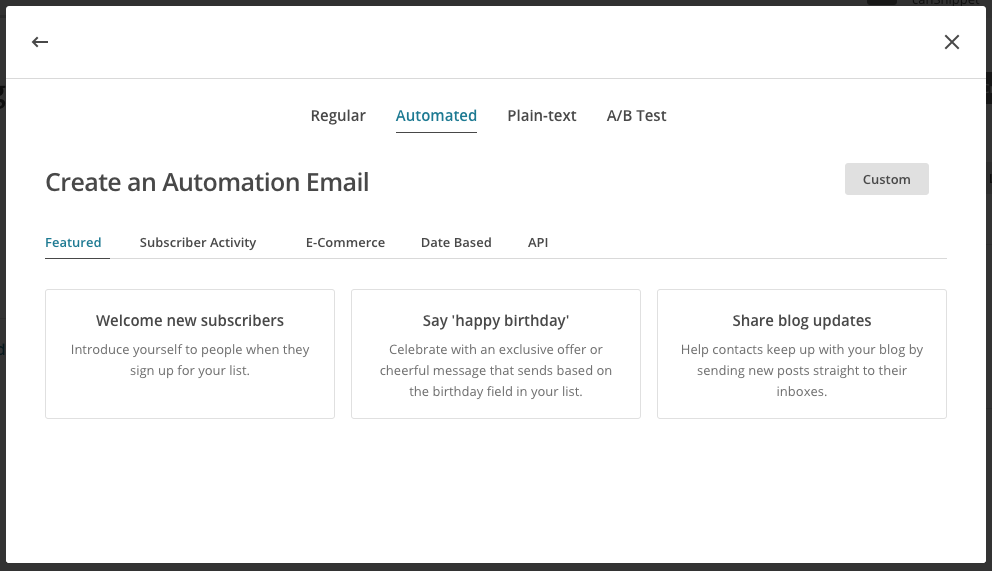
Select Automated as we want the email to be sent every time a new user registers to our newsletter and select Welcome new subscribers.
In the next step just select the list we created earlier (so-called newsletter).
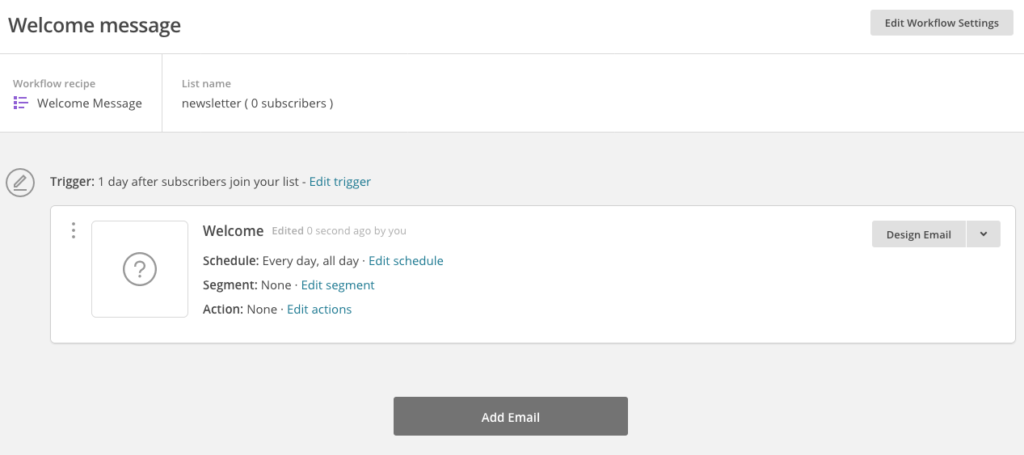
The final window corresponds to the heart of your campaign and will contain all the required information.
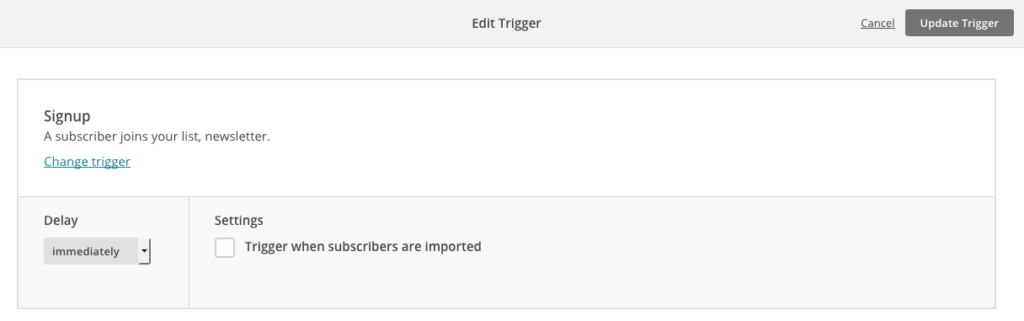
To send an automatic email every time an event is detected you need to adjust the trigger. Click Edit trigger and on the Delay section click on the drop-down menu and select Immediately and click Update Trigger.
4. Design your Welcome email
Click Design Email and fill the form as you wish with the Email subject and Preview Text (optional) information. Then, select a template and start designing your welcome email. That’s where all the craziness starts as you can do everything you want. For a welcome email you can just start with a Basic – 1 Column layout and modify the text accordingly by adding an image for example. Then you can simply click Save and Close and click Save and Continue once you are done.
Click Next and review your workflow. If there is any issue, MailChimp will let you know. Finally, click Start workflow and confirm.
That’s it, you are done, enjoy your newsletter and share as much as you can✨