I recently struggled a lot to be able to upload/download images to/from AWS S3 in my React Native iOS app. I wanted to allow users to upload images to S3 and access some of the images from other users… I have a server running on Express (nodejs) and here is how I solved my problem.
1. Create an IAM user
Go to the IAM section on your AWS dashboard, select the Users category from the left side menu and press the Add user button.
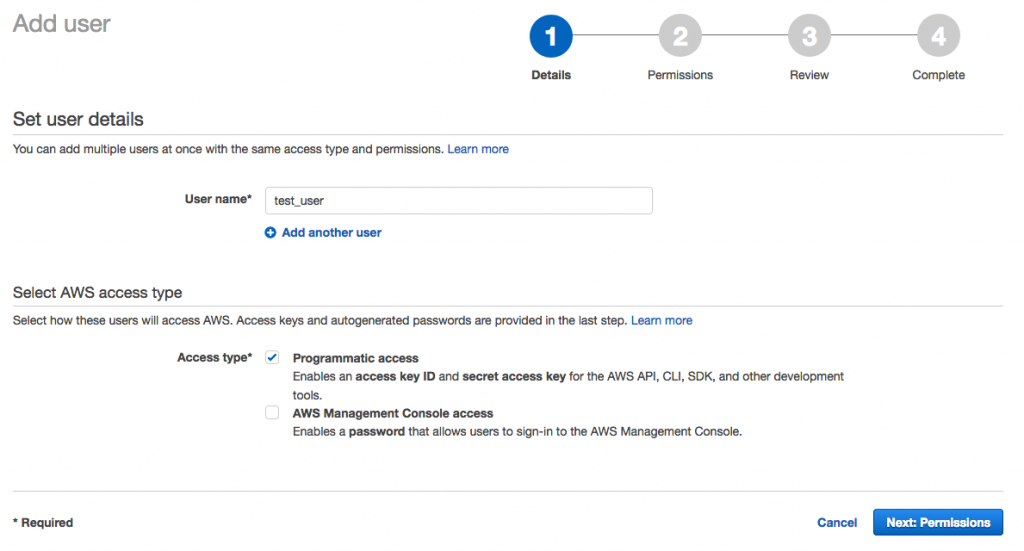
1.1 Enter a username (test_user in this example) and select the access type Programmatic access, click Next:Permissions.
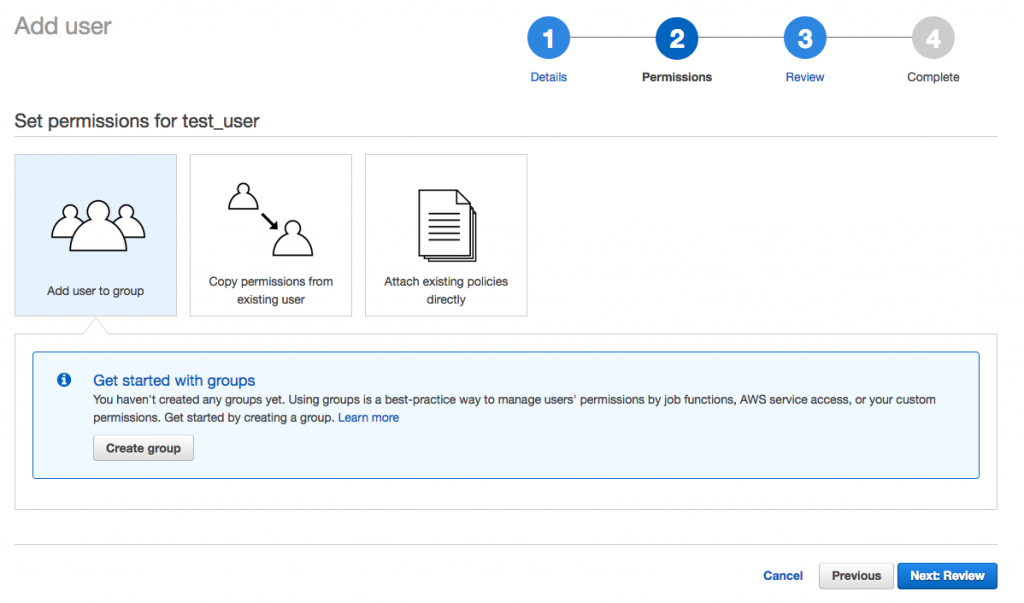
1.2 Leave this section as is and click Next:Review.
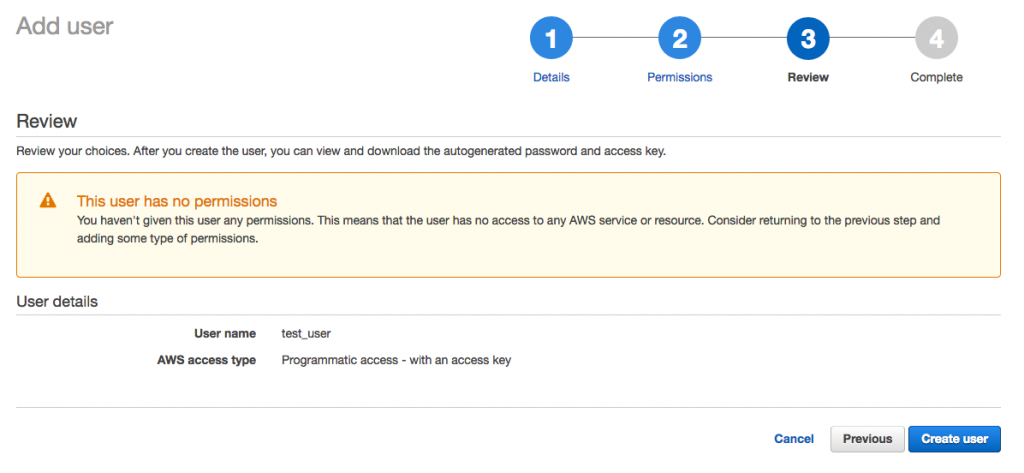
1.3 Finalize the creation of the user by clicking the Create user button.
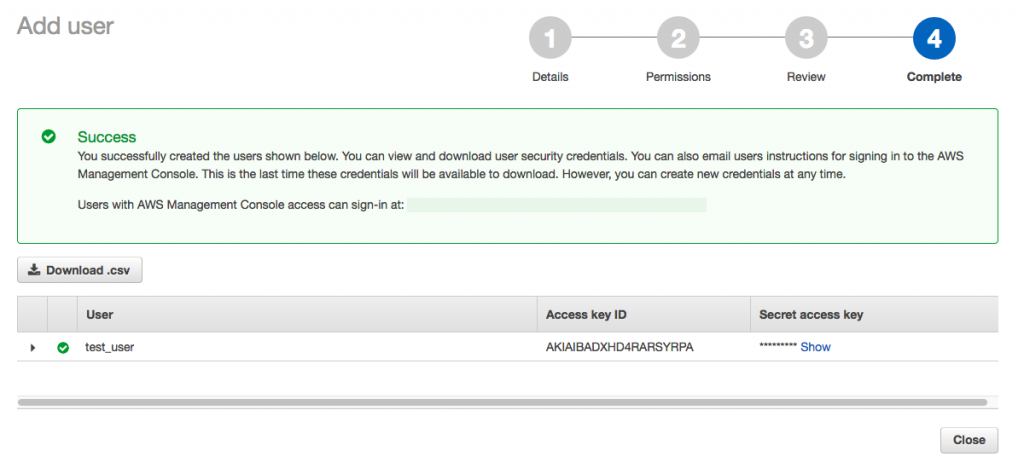
1.4 Your new IAM user is created, click the Download .csv button and keep the file somewhere safe as it contains the Secret Access Key of your user. We will need this information later to create pre-signed URLs.
2. Create an AWS S3 bucket
Go to the S3 section on your AWS dashboard and click the + Create bucket button.
2.1 Enter a name for your bucket (test-bucket-tutorial in this example), the name has to be unique. Click Next.
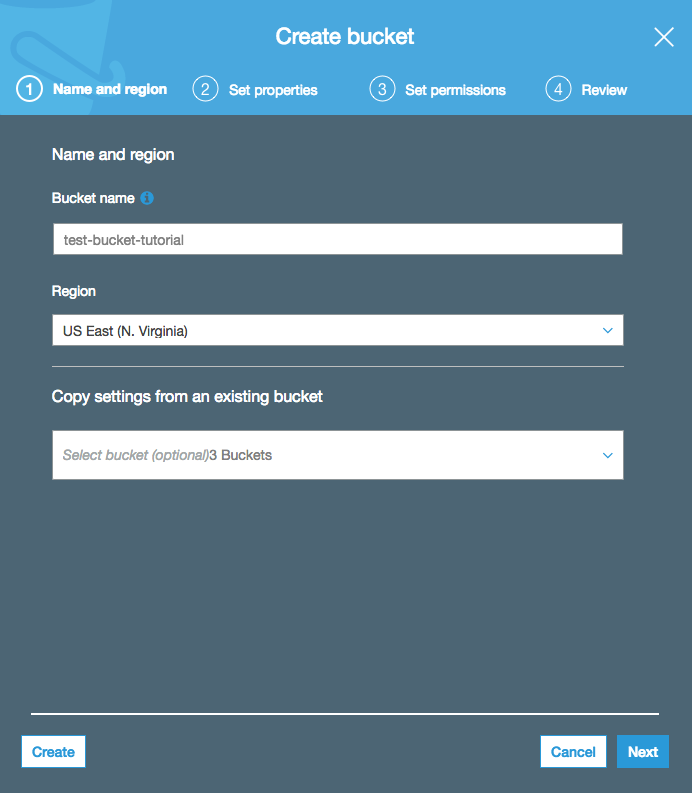
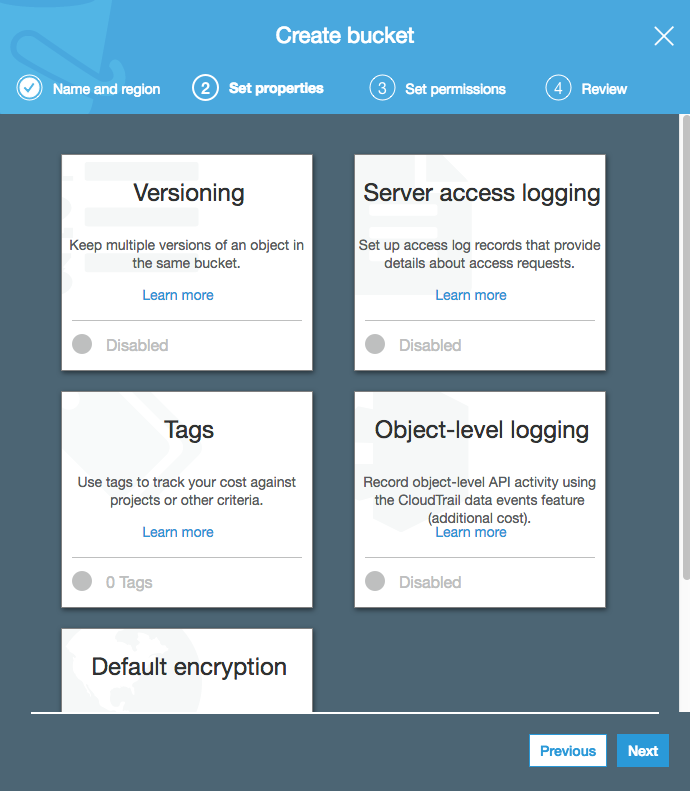
2.2 Leave the default parameters in the Set properties section and click Next (you can always change them later)
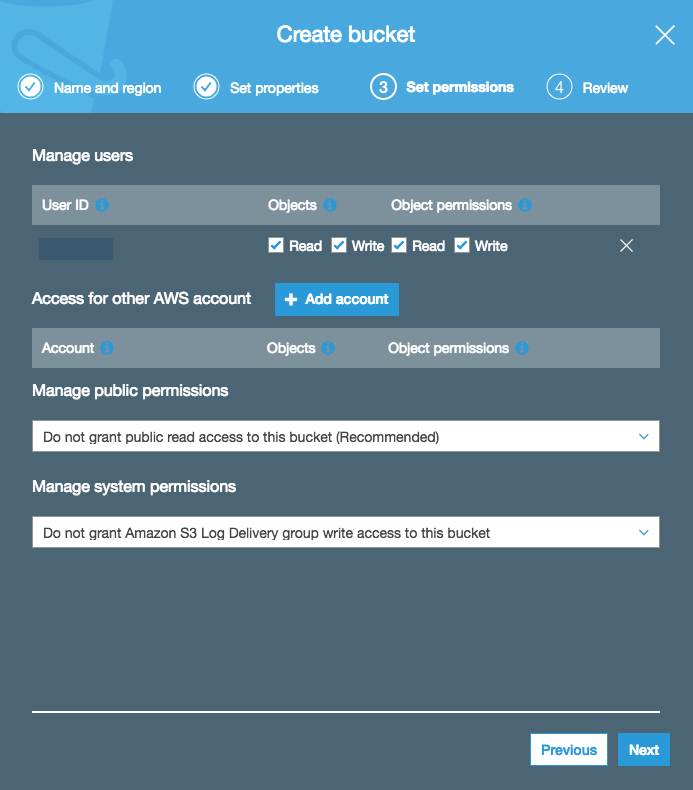
2.3 Same for Set permissions, leave the default parameters and click Next
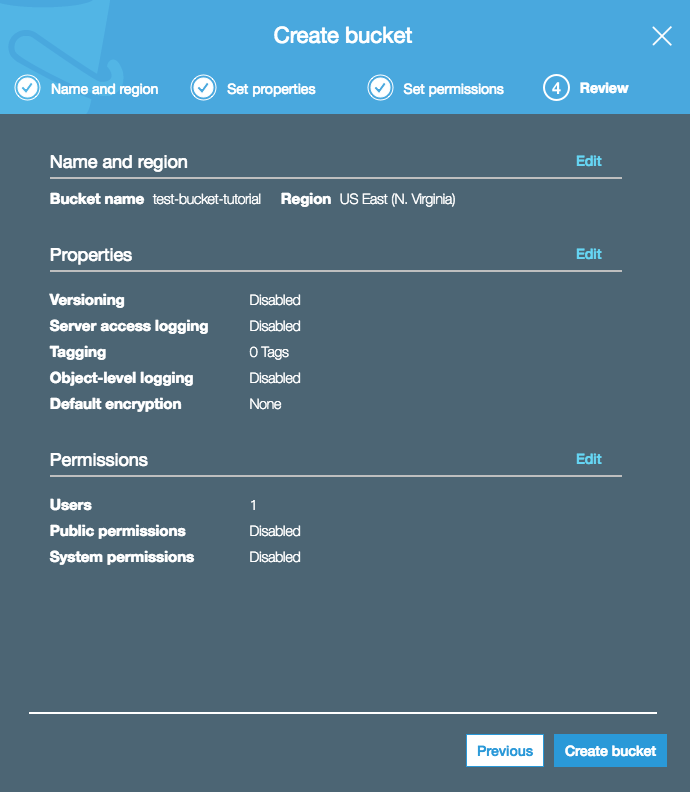
2.4 Review and click Create bucket
2.5 Go to your freshly created bucket and click + Create folder . Name your new folder images.
3. Create policy for your IAM user
So far we created our IAM user and our S3 bucket with an images folder. We now need to give permissions to our IAM user to access the S3 test-bucket-tutorial/images folder.
3.1 Go to your IAM section on your AWS dashboard and click the Policies section.
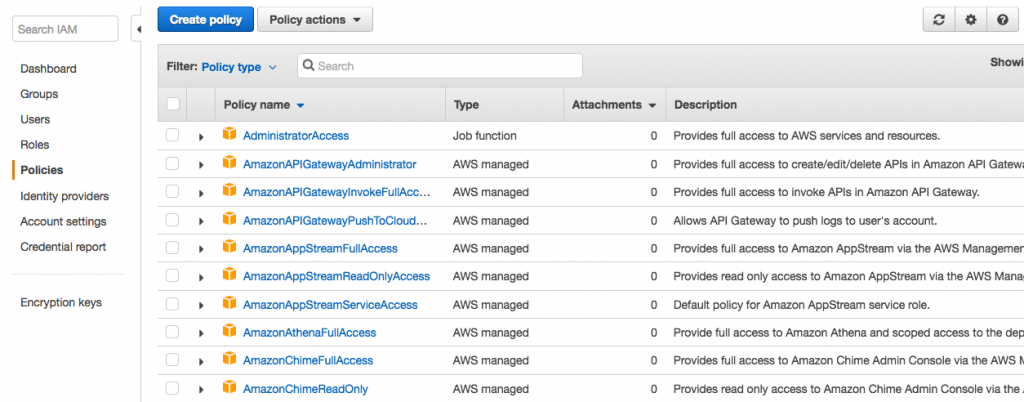
3.2 Click Create policy and select the JSON tab, then copy-paste the text below on the text input.
{
  "Version": "2012-10-17",
  "Statement": [
    {
      "Effect": "Allow",
      "Action": ["s3:ListBucket"],
      "Resource": ["arn:aws:s3:::test-bucket-tutorial/images"]
    },
    {
      "Effect": "Allow",
      "Action": [
        "s3:PutObject",
        "s3:GetObject",
        "s3:DeleteObject",
        "s3:GetObjectAcl",
        "s3:GetObjectVersion",
        "s3:PutObjectAcl",
        "s3:PutObjectVersionAcl"
      ],
      "Resource": ["arn:aws:s3:::test-bucket-tutorial/images/*"]
    }
  ]
}
It should look like the picture below:
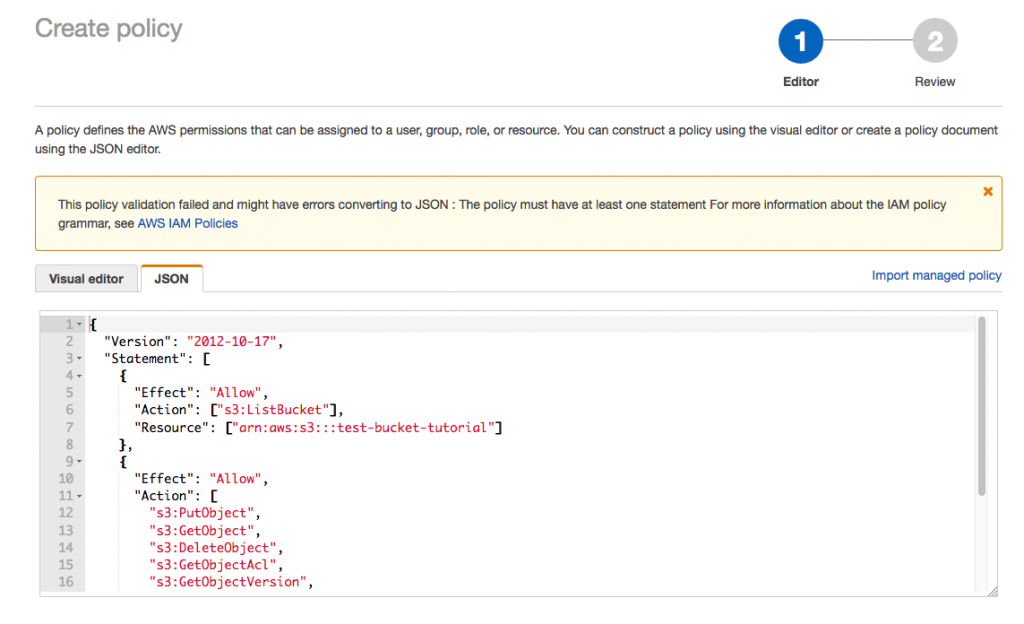
3.3 Click Review policy, give a name to your policy (test-bucket-tutorial-policy in this example) and click Create policy
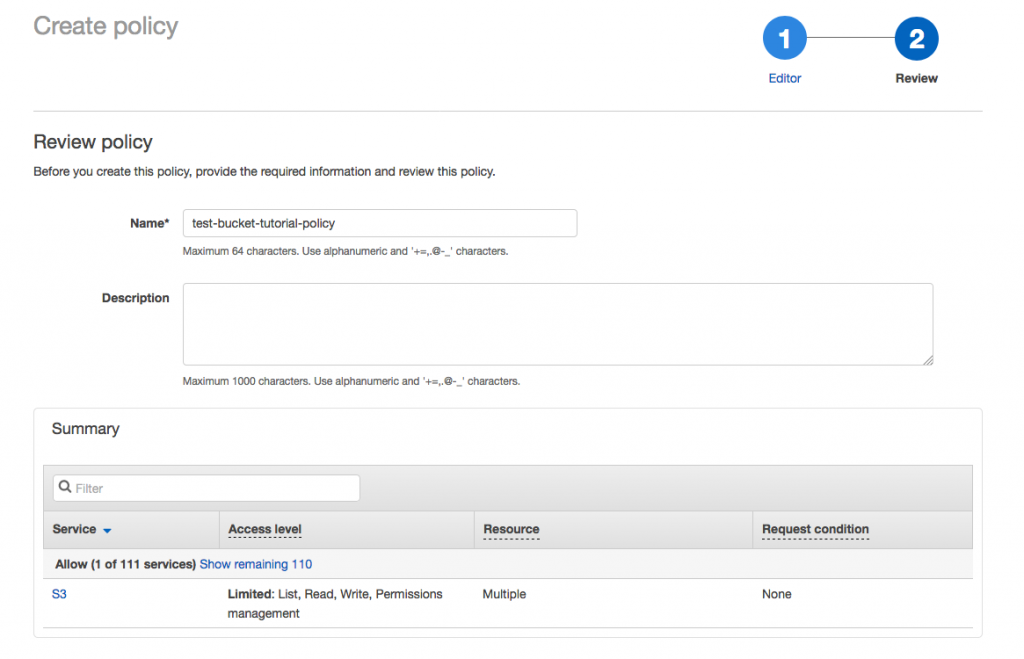
4. Attach policy to your IAM user
Now we need to attach the policy to the user.
4.1 On the Policies section, select our freshly created policy.
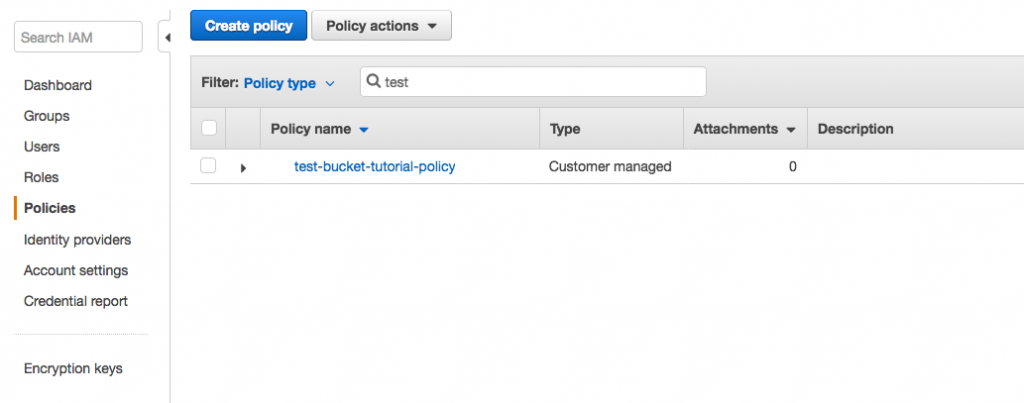
4.2 Go to the Attached entities tab and click Attach
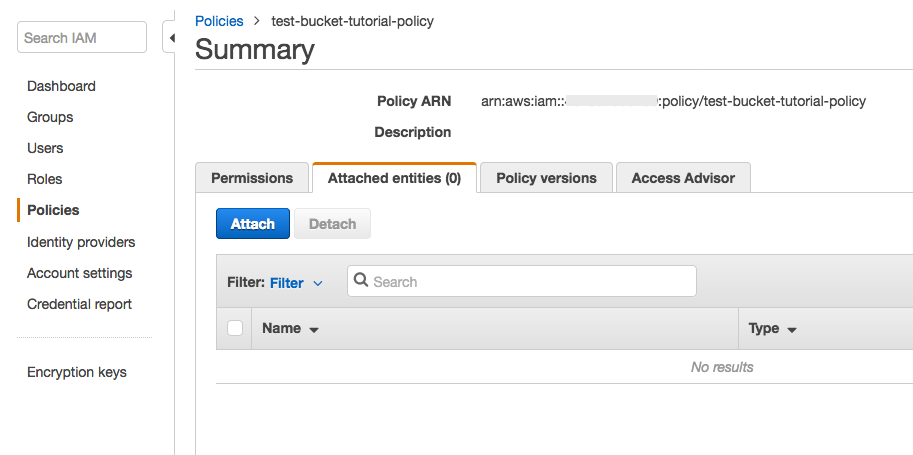
4.3 Select the IAM user that we created at Step1 and click Attach policy

Now the user has the permissions (listed in the policy) to access the test-bucket-tutorial/images folder in your S3 bucket.
5. Generating pre-signed URL on the server side
Pre-signed URLs allow you to create a unique URL based on the credentials that you will provide and to safely use this URL on your client-side (without providing the Secret Access Key). As written earlier, I am using expressjs as a back-end, however the code below can easily be adapted to other alternatives.
5.1 Install the node aws-sdk package.
npm install aws-sdk
5.2 Copy-paste the following code to your main javascript code when running your server, this will output the generated pre-signed URL to the console.
var AWS = require('aws-sdk');
var s3 = new AWS.S3({accessKeyId:'XXXXXXXXXXXX', secretAccessKey:'YYYYYYYYYYYY', region:'REGION'});

var params = {Bucket: 'test-bucket-tutorial', Key: 'images/myimage.jpg', ContentType: 'image/jpeg'};
s3.getSignedUrl('putObject', params, function (err, url) {
    console.log('Your generated pre-signed URL is', url);
});
- Replace XXXXXXXXXXXX by your user’s Access Key ID that you can find on the csv file previously downloaded (Step 1.4)
- Replace YYYYYYYYYYYY by your user’s Secret Access Key that you can find on the csv file previously downloaded
- Replace REGION by the region of your AWS S3 bucket, you can find this information here
6. Upload images to S3 from the client-side
My client-side is implemented in React-Native. To allow the user to select a picture and send it to our S3 bucket we will use the ImagePickerIOS component (which is not very highly documented…). Put the code below on your RN app wherever you want it to be run.
ImagePickerIOS.openSelectDialog({}, imageUri => {
    const xhr = new XMLHttpRequest()
    xhr.open('PUT', presignedUrl)
    xhr.onreadystatechange = function() {
        if (xhr.readyState === 4) {
            if (xhr.status === 200) {
            console.log('Image successfully uploaded to S3')
        } else {
            console.log('Error while sending the image to S3')
        }
    }
}
xhr.setRequestHeader('Content-Type', 'image/jpeg')
xhr.send({ uri: imageUri, type: 'image/jpeg', name: 'myimage.jpg'})
}, error => console.log(error));
I adapted the original code that I found in this very helpful article. Change the presignedUrl value with the pre-signed URL that you generated on your server (Step 5.2).
7. Downloading images from the client-side
If you want to download some images to your client app, you need to follow a similar approach with some slight changes:
- remove the ContentType attribute from the params array
- use the getObject method instead of putObject
The code will then look like:
var params = {Bucket: 'test-bucket-tutorial', Key: 'images/myimage.jpg'};
s3.getSignedUrl('getObject', params, function (err, url) {
    console.log('Your generated pre-signed URL is', url);
});
This code will generate a unique URL to access your image.
Check the AWS.S3 Documentation page if you want to learn more about the different methods that are available.
8. A concrete example
I personally use these examples in my own project as follow :
1 – The user selects a photo from the Gallery
2 – The RN app sends a request to my Express server with the name (and ID) of the user as the image filename
3 – The nodejs server generates the pre-signed URL adapted to the image filename using the AWS SDK
4 – The server sends the generated pre-signed URL to the RN app
5 – The RN app performs a HTTP request with the pre-signed URL to upload the image to S3
Let me know how it goes for you in the comments 🙂
We can work together

Share this post on social media:
what’s the alternative to pre-signed urls? how do we only allow certain users the ability to upload?
Alternatively, you can create as many IAM users as you like and give them separate permissions. You can then use the username and password to let them upload images to S3.
In my case, I just wanted to let all the users upload images to S3 without them requiring a proper IAM account.
Hi. I posted this to an api endpoint, e.g. /upload. My request body is empty though, any ideas why?
How are you posting your request? Which language?
Do you get an error or just an empty request body?
I use the exact same example that I mentioned in point 6 in the article and then I get the uri, type and name in my request body as expected.
Hi,
I’ve tried upload using axios , header content type image/jpeg, file to upload are object contain uri , filename, filetype, just like the example.
it is put successfully, but it resulted image is not valid(blank image or not recognized as image)
How to fix this? already tried to upload the base64 (response.data) but is still doesnt workkk
When you say “the resulting image is not valid” do you mean on AWS?
I also had similar issues where the image was uploaded but not shown on AWS, this was either due to permission issues of the AWS user or I just had to be a bit patient until the image was fully loaded on AWS.
how would you adjust this to upload more than just images such as videos and text documents?
You would need to adapt the Content-Type header in step 5.2 and 6. To have an idea of the different options possible you can check here https://en.wikipedia.org/wiki/Media_type
Hi, what are the react-native dependencies for step-7 to work?
I guess only s3 is needed there
Nice article! Can you please provide the source code please?
Don’t have any code about this on any repo but it’s all in the article 🙂